Your Cart is Empty


What you’ll need:
Hammer
Circular saw
Screws
Electric Drill
2-3 pallets
Note: This how-to is adaptable for any size trunk you like.
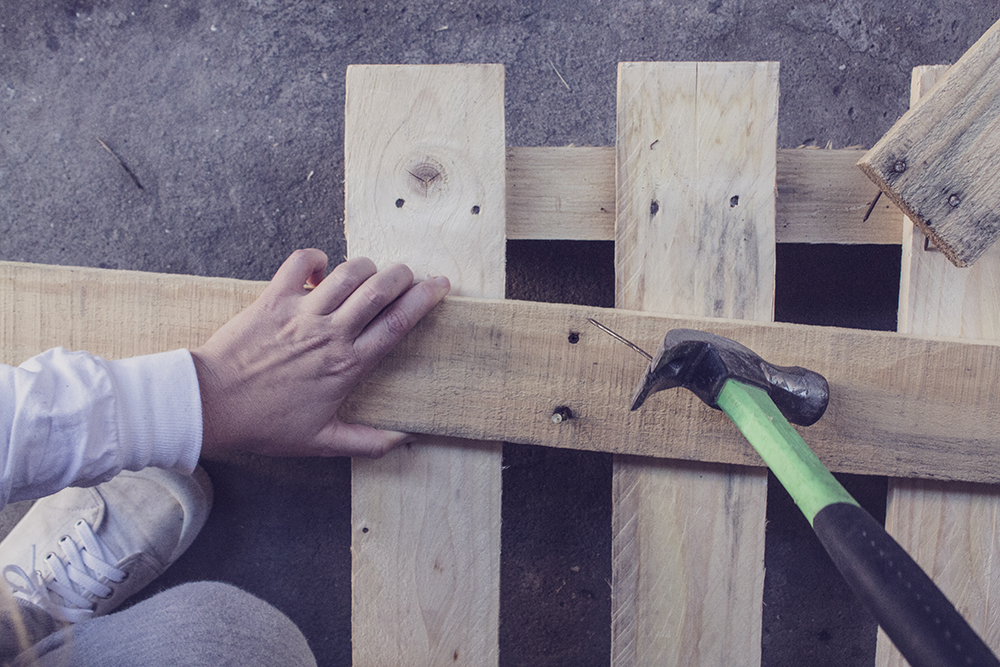
Deconstruct the pallets. You’ll need individual planks of wood for this piece of furniture. Using a hammer you can prize out the nails that secure the planks together. If the pallets are old and this is too much of a struggle, then saw the nails off.
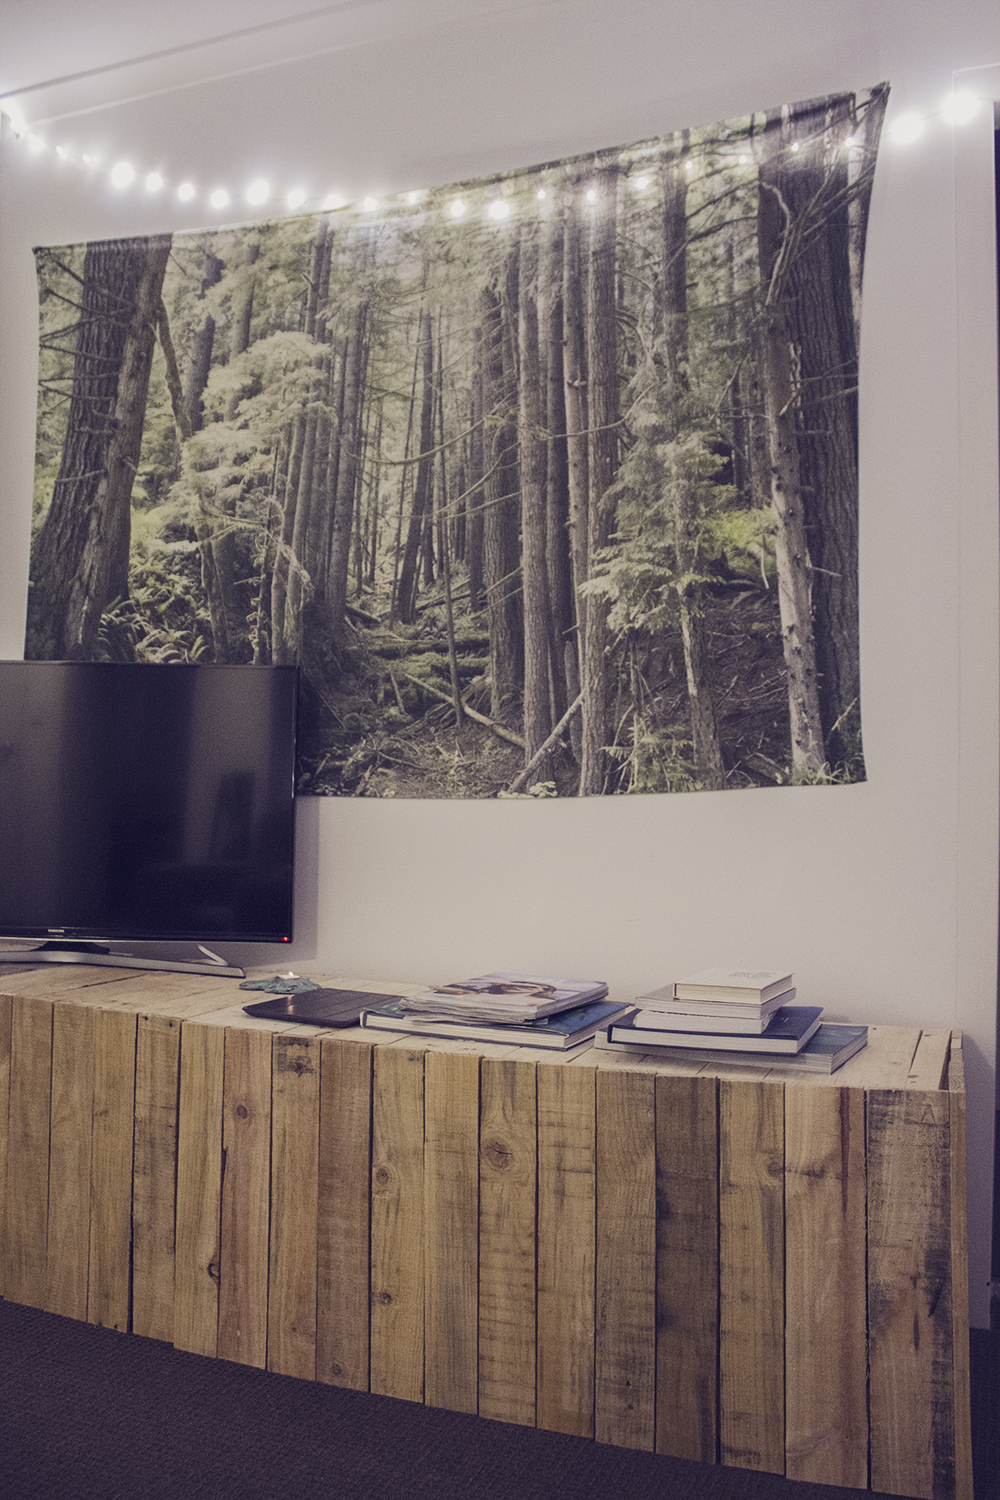
Decide on the desired width and height of your trunk. The trunk pictured in this guide is 2500 mm wide by 500 mm high. A height of 500 mm allows you to get two pieces of wood from each pallet plank, reducing further waste.
Using a circular saw cut the planks to the desired length. Line all four individual outer sides of the trunk along the ground prior to screwing together to ensure each piece of wood is flush and symmetrical.
Cut 8 more planks. 4 planks the same width as each end, and 4 the same width as the longer sides of the trunk. These will be used to connect each individual plank together to create the 4 sides of the trunk.
Place one piece of wood lengthways 2 – 3 inches from the top and bottom of each side. Use an electric drill to make a hole through these length way planks, into each piece of wood prior to screwing together. This will stop the wood from splitting.
Once you have drilled holes into each plank of wood, use the electric drill to place screws in each hole. By the end of completing this step for every piece of wood, you will have successfully connected all planks together and have created 4 individual sides.
Arrange each side of the trunk so you create a rectangle, and using the electric drill screw each side together.
Our trunk had no base, so all you’ve got left to do now is secure together a lid. The lid will be the same length and height of the two longer sides. Cut planks of wood according to this measurement using the circular saw.
Arrange the planks of wood alongside one another to check each plank is the same length.
Connect the planks together using two pieces of wood. Repeat step 5 for the trunk’s lid. Make sure you don’t place the two connecting planks of wood too close to the edge, as the lid needs to rest on the hidden connecting plank inside the trunk on each opposite side.
Finish with paint or leave as is. We wanted our trunk to look natural and rustic, so left it unfinished.
Move your new trunk into your home. Stand back and admire your handiwork, knowing that you’ve not only helped reduced waste but saved yourself money on brand-new furniture!
This blog was originally written for 1 Million Women.


